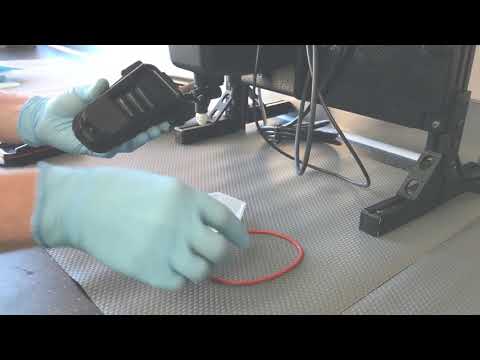
Fit the mounting cleat
Review the mounting arrangement and leave room to lift the instrument clear for service.
Watch on YouTube


Watch Lovibond demonstrate assembly, calibration, verification and routine service. Explore the AquaLXP iPhone app alongside the videos.
Browse video demosSee how the main assembly fits together before planning the mounting and sample line.
Review the mounting arrangement and leave room to lift the instrument clear for service.
Watch on YouTubeSee how the flow body engages with the cleat before plumbing the sample.
Watch on YouTubeFollow the procedure for the primary standard specified by your site.
See the sequence using the 5 NTU T-CALplus primary standard.
Watch on YouTubeEstablish the value of a dry block before using it for routine checks.
The demonstration uses a high-range block. Follow the instructions for the block you have.
Watch on YouTubeChoose a video by the component you need to inspect. Follow the operating instructions for preparation and return to service.
Find the drain cover, O-ring and siphon tube, and see how the flow body comes off its mounting.
Watch on YouTubeIdentify the component used to manage stray light in the flow body.
Watch on YouTubeSee the disassembly sequence and how the replacement fits.
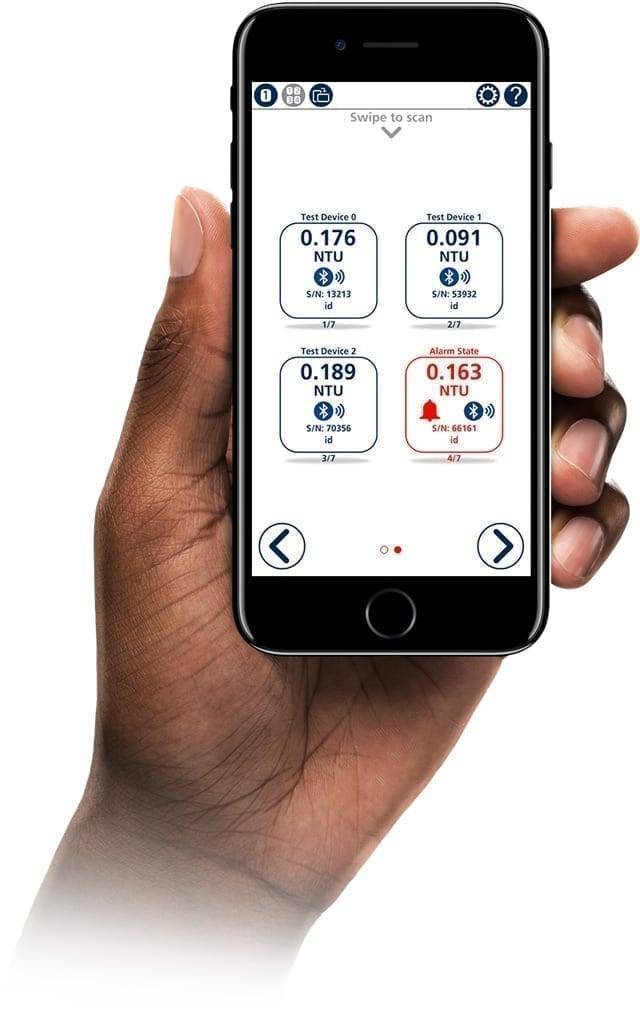
Watch on YouTubeLovibond AquaLXP provides a mobile interface for compatible Bluetooth-equipped PTV analysers. Check the instrument configuration and your phone’s requirements before pairing.
See readings and activity records, including verification, calibration, cleaning and maintenance. Graph and table views help you investigate changes and share the data for further review.
Use the app for supported tasks while following your site procedures. Confirm access permissions and the instrument’s Bluetooth capability before you go to site.
Gather the sample, method and plant connection details for a discussion with PMA.
Prepare your enquiryHave the sampling point, expected turbidity and operating flow to hand.